Vagrantのプロビジョニングを利用すると、開発環境で必要なソフトウェアを揃えたVagrant環境を用意することができます。
プロビジョニングは、シェルスクリプト、Chef、Puppet、Dockerと様々な方法をサポートしています。
Chefレシピを使ったApacheのインストールを試した最も基本的な例を試したのでまとめておきます。
プロジェクト用のディレクトリvagrant_chefを作成してUbuntu 14.04.1 LTS (Trusty Tahr)を指定してvagrant initを実行します。
[bash gutter=”false”]
$ mkdir vagrant_chef
$ cd vagrant_chef
$ vagrant init ubuntu/trusty64
[/bash]
“ubuntu/trusty64″はVagrantの公式イメージを指定しています。
https://vagrantcloud.com/ubuntu/boxes/trusty32
Chef Soloによるプロビジョニングを有効にします。
[bash title=”Vagrantfile”]
Vagrant.configure(VAGRANTFILE_API_VERSION) do |config|
config.vm.network "forwarded_port", guest: 80, host: 8080
config.vm.provision "chef_solo" do |chef|
chef.add_recipe "apache"
end
end
[/bash]
デフォルトでは、Vagrantfileが置かれているディレクトリの”cookbooks”ディレクトリからレシピを読み込みます。
[bash gutter=”false”]
$ mkdir -p cookbooks/apache/recipes/
$ cd cookbooks/apache/recipes/
[/bash]
Apache2をセットアップするレシピは以下のように記述します。
[ruby title=”cookbooks/apache/recipes/default.rb”]
execute ‘apt-get update’
package ‘apache2’
execute ‘rm -rf /var/www’
link ‘/var/www’ do
to ‘/vagrant’
end
[/ruby]
Apache2をインストールした後、ゲストマシンの /var/www ディレクトリを共有フォルダ /vagrant にリンクしています。
[bash gutter=”false”]
$ vagrant up
…
==> default: Forwarding ports…
default: 80 => 8080 (adapter 1)
default: 22 => 2222 (adapter 1)
…
…
==> default: Running provisioner: chef_solo…
Generating chef JSON and uploading…
Running chef-solo…
stdin: is not a tty
[2014-10-05T15:17:44+00:00] INFO: Forking chef instance to converge…
[2014-10-05T15:17:44+00:00] INFO: *** Chef 11.8.2 ***
[2014-10-05T15:17:44+00:00] INFO: Chef-client pid: 1556
[2014-10-05T15:17:44+00:00] INFO: Setting the run_list to ["recipe[apache]"] from JSON
[2014-10-05T15:17:44+00:00] INFO: Run List is [recipe[apache]]
[2014-10-05T15:17:44+00:00] INFO: Run List expands to [apache]
[2014-10-05T15:17:44+00:00] INFO: Starting Chef Run for vagrant-ubuntu-trusty-64
[2014-10-05T15:17:44+00:00] INFO: Running start handlers
[2014-10-05T15:17:44+00:00] INFO: Start handlers complete.
[2014-10-05T15:18:11+00:00] INFO: execute[apt-get update] ran successfully
[2014-10-05T15:18:29+00:00] INFO: execute[rm -rf /var/www] ran successfully
[2014-10-05T15:18:29+00:00] INFO: link[/var/www] created
[2014-10-05T15:18:29+00:00] INFO: Chef Run complete in 44.377179971 seconds
[2014-10-05T15:18:29+00:00] INFO: Running report handlers
[2014-10-05T15:18:29+00:00] INFO: Report handlers complete
[2014-10-05T15:17:44+00:00] INFO: Forking chef instance to converge…
[/bash]
UbuntuにパッケージインストールしたApacheはデフォルト設定では /var/www/html がDocumentRootです。
/var/www は共有フォルダ /vargrant へのリンクにセットしたので、プロジェクトのhtmlディレクトリがDocumentRootになります。
プロジェクトにhtmlディレクトリを作成してindex.htmlを追加します。
[bash gutter=”false”]
$ mkdir html
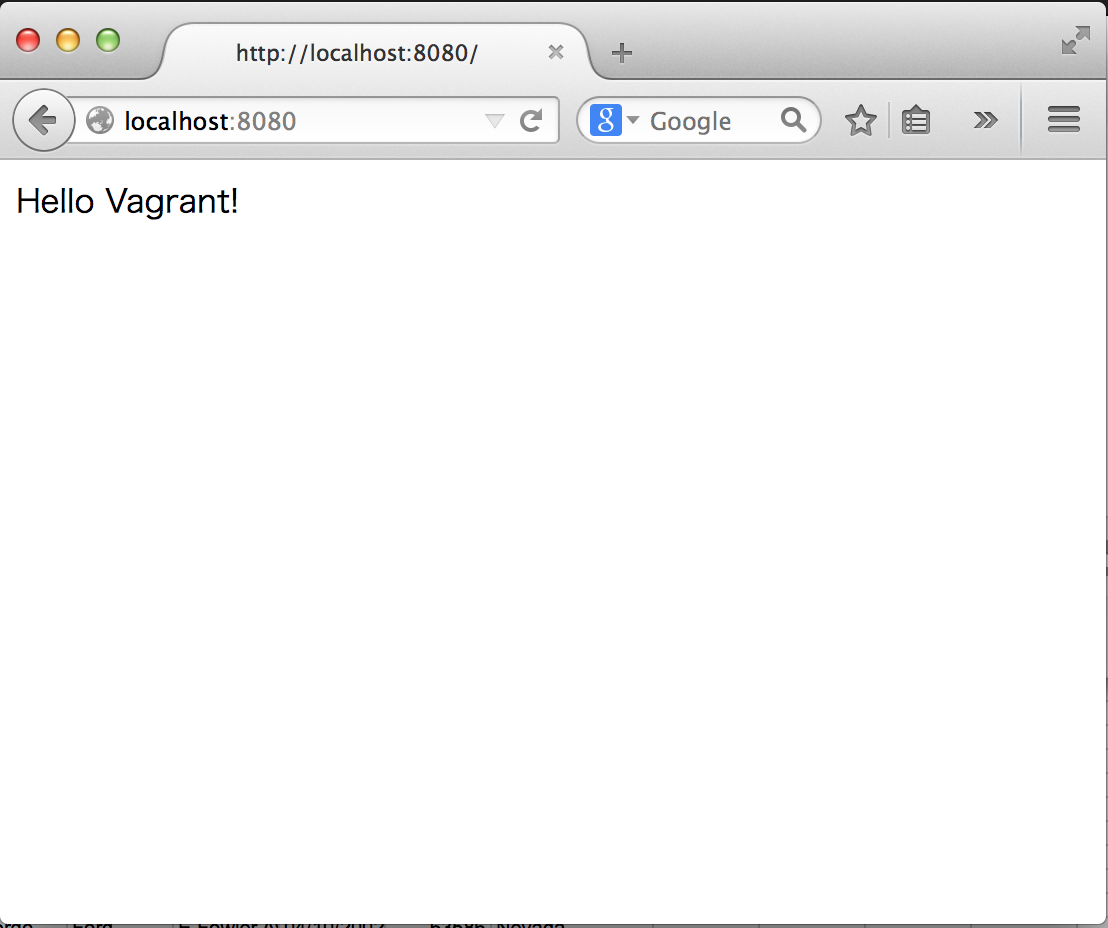
$ echo ‘Hello Vagrant!’ > html/index.html
[/bash]
プロジェクトのディレクトリ構成は以下のようになります。
[bash gutter=”false”]
$ tree
.
├── Vagrantfile
├── cookbooks
│ └── lamp
│ └── recipes
│ └── default.rb
└── html
└── index.html
4 directories, 3 files
[/bash]
ブラウザでhttp://localhost:8080にアクセスすると、以下のようにホストマシンのindex.htmlが表示されます。