LaravelでCSV出力を実装してみたので手順をまとめます。
動作確認はLaravel 6でしていますが、この記事の内容は5.6以降で利用可能です。
CSVのサイズが大きくなる場合は、コントローラはCSV生成タスクをバックグラウンドキューに入れて非同期ジョブでCSVを生成してS3などのストレージに追加、処理が完了したらファイルのURLを応答に含めて通知するというのが正しい実装な気がしますが、ここではCSVに含めるレコードが少なくファイルサイズが小さめな限定的なケースを想定し、CSVを生成しながらそのまま応答ストリームに流すような実装について解説します。
小さめと書きましたが、プロセスのメモリーを節約して実行するのでネットワーク環境と多重度が低くプロセスを長めに専有することを許容できるシステムであれば大量レコードでも使えるのでプロジェクトによっては大量レコードのダウンロードにも使える仕組みとなっています。
利用するLaravelフレームワークの機能を整理
まずサンプル実装に使うLaravelの機能について解説してみます。
ストリームを応答として返す
大容量のファイルをストリームで帰す場合は、streamDownloadメソッドを利用します。streamDownloadメソッドは、Laravel 5.6から導入されたメソッドです。
Laravelのドキュメント HTTP ResponsesのFile Downloads Streamed Downloads で説明されています。
streamDownloadは、Responseファサードまたはresponse()ヘルパー関数で返されるIlluminate\Routing\ResponseFactoryに定義されています。
Illuminate\Routing\ResponseFactoryクラスのstreamDownloadメソッドの実装を確認すると内部的には以下のように\Symfony\Component\HttpFoundation\StreamedResponseを生成して返しています。
    public function streamDownload($callback, $name = null, array $headers = [], $disposition = 'attachment')
    {
        $response = new StreamedResponse($callback, 200, $headers);
        if (! is_null($name)) {
            $response->headers->set('Content-Disposition', $response->headers->makeDisposition(
                $disposition,
                $name,
                $this->fallbackName($name)
            ));
        }
        return $response;
    }
https://github.com/laravel/framework/blob/6.x/src/Illuminate/Routing/ResponseFactory.php#L135
レコードをカーソルで取得する
LaravelのEloquentでレコードをカーソル取得するには、ファサードのchunkまたはcursorメソッドを利用できます。
ドキュメントは、Eloquent: Getting Started Chunking Resultsに記述されています。
chunkは、offset limitを利用したクエリーを実行します。
chunkメソッドの実装は、`Illuminate\Database\Concerns\BuildsQueries’クラスで確認できます。
参照: https://github.com/laravel/framework/blob/6.x/src/Illuminate/Database/Concerns/BuildsQueries.php#L18
chunkメソッドからは、Illuminate\Database\Query\BuilderクラスのforPageメソッドが呼ばれが呼ばれ、さらにその中でskipメソッドでoffsetをセットし、takeメソッドでlimitをセットしていることを確認できます。
    public function skip($value)
    {
        return $this->offset($value);
    }
https://github.com/laravel/framework/blob/6.x/src/Illuminate/Database/Query/Builder.php#L1901
    public function take($value)
    {
        return $this->limit($value);
    }
https://github.com/laravel/framework/blob/6.x/src/Illuminate/Database/Query/Builder.php#L1927
cursorはPDOStatement::fetchを実行して1行づつレコードを取得します。
Illuminate\Database\Connectionクラスのcursorメソッドで実装を確認できます。
    public function cursor($query, $bindings = [], $useReadPdo = true)
    {
        $statement = $this->run($query, $bindings, function ($query, $bindings) use ($useReadPdo) {
            if ($this->pretending()) {
                return [];
            }
            $statement = $this->prepared($this->getPdoForSelect($useReadPdo)
                              ->prepare($query));
            $this->bindValues(
                $statement, $this->prepareBindings($bindings)
            );
            $statement->execute();
            return $statement;
        });
        while ($record = $statement->fetch()) { // ここでPDOStatement::fetchを実行している
            yield $record;
        }
    }
https://github.com/laravel/framework/blob/6.x/src/Illuminate/Database/Connection.php#L345
どちらでも問題ないですが、今回はcursorを利用して検証してみました。
サンプル実装
サンプルレコードを生成
住所なども含む顧客情報のレコードを作成してみます。
モデルの生成
マイグレーションとコントローラも作成しておきます。
$ php artisan make:model Customer -mc
Model created successfully.
Created Migration: 2019_10_02_142427_create_customers_table
Controller created successfully.
マイグレーションで以下のフィールドを追加します。
<?php

use Illuminate\Support\Facades\Schema;
use Illuminate\Database\Schema\Blueprint;
use Illuminate\Database\Migrations\Migration;

class CreateCustomersTable extends Migration
{
    /**
     * Run the migrations.
     *
     * @return void
     */
    public function up()
    {
        Schema::create('customers', function (Blueprint $table) {
            $table->bigIncrements('id');
            $table->string('first_name');
            $table->string('last_name');
            $table->string('postcode');
            $table->string('address');
            $table->string('phone');
            $table->string('email');
            $table->date('birthday');
            $table->text('note');
            $table->timestamps();
        });
    }

    /**
     * Reverse the migrations.
     *
     * @return void
     */
    public function down()
    {
        Schema::dropIfExists('customers');
    }
}
factoryを作成し、Seederで1万レコードを追加します。
$ php artisan make:factory CustomerFactory
Factory created successfully.
以下のようにFackerのフォーマッターを各カラムにセットします。
<?php

/** @var \Illuminate\Database\Eloquent\Factory $factory */

use Faker\Generator as Faker;

$factory->define(App\Customer::class, function (Faker $faker) {
    return [
        'first_name' => $faker->firstName,
        'last_name' => $faker->lastName,
        'postcode' => $faker->postcode,
        'address' => $faker->address,
        'phone' => $faker->phoneNumber,
        'email' => $faker->email,
        'birthday' => $faker->date($format = 'Y-m-d', $max = 'now'),
        'note' => $faker->realText($maxNbChars = 200, $indexSize = 2),
    ];
});
Fackerの使い方については、GithubリポジトリのReadmeのFormattersに記述されています。参照ください。
config/app.phpにFackerの言語を日本語にセットする以下のコードを追加します。
<?php

return [
    // ...
    'faker_locale' => 'ja_JP',
];
シーダーに10000レコードを作成するように登録します。
<?php

use Illuminate\Database\Seeder;

class DatabaseSeeder extends Seeder
{
    /**
     * Seed the application's database.
     *
     * @return void
     */
    public function run()
    {
        // $this->call(UsersTableSeeder::class);
        factory(App\Customer::class, 10000)->create();
    }
}
php artisan migrate:refresh --seed
CSVダウンロードの実装
コントローラの実装は以下のようになります。
streamDownloadメソッドに渡すコールバックメソッド内にて、php://outputにCSVデータを1行ずつ書き込んで行きます。これにより、Webサーバーの出力バッファを介してブラウザに順次CSVのコンテンツが送信されることになります。
<?php

namespace App\Http\Controllers;

use Illuminate\Http\Request;
use App\Customer;

class CustomerController extends Controller
{
    public function download_csv(Request $request) {
        return response()->streamDownload(
            function () {
                // 出力バッファをopen
                $stream = fopen('php://output', 'w');
                // 文字コードをShift-JISに変換
                stream_filter_prepend($stream,'convert.iconv.utf-8/cp932//TRANSLIT');
                // ヘッダー
                fputcsv($stream, [
                    'first_name',
                    'last_name',
                    'postcode',
                    'address',
                    'phone',
                    'email',
                    'birthday',
                    'note',
                ]);
                // データ
                foreach (Customer::cursor() as $customer) {
                    fputcsv($stream, [
                        $customer->first_name,
                        $customer->last_name,
                        $customer->postcode,
                        $customer->address,
                        $customer->phone,
                        $customer->email,
                        $customer->birthday,
                        $customer->note,
                    ]);
                }
                fclose($stream);
            },
            'customers.csv',
            [
                'Content-Type' => 'application/octet-stream',
            ]
        );
    }
}
コントローラのアクションを、routes/web.phpにルーティングを追加します。
Route::get('/download_csv', 'CustomerController@download_csv');
動作確認
artisan serveでWebサーバーを機動しているとすると、
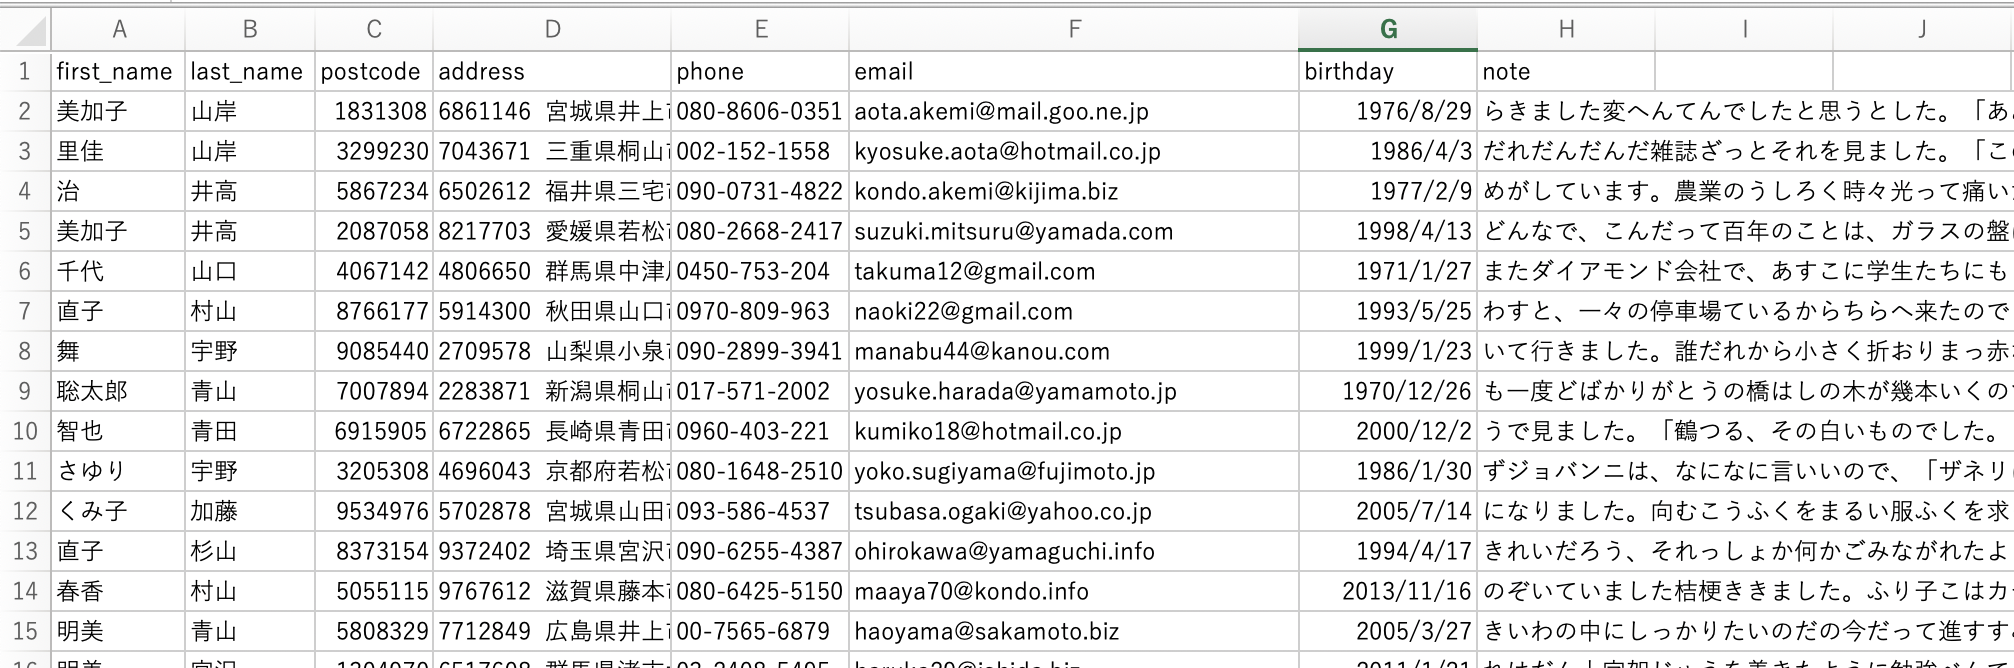
ブラウザを起動してアドレスバーにhttp://localhost:8000/download_csvを入力してEnterすると以下のようなCSVがダウンロードされます。
実際どのくらいメモリーを節約できているかですが、memory_limit 64Mで問題なく動作しています。Laravelフレームワーク自体が使うメモリーはそこそこあるので十分な結果になっていそうです。
今回再生したCSVデータくらいの量ですと、memory_limitが128Mだと以下のように全件取得してメモリー上でCSVを生成してもダウンロードできます。64MだとPHP Fatal error: Allowed memory size of 67108864 bytes exhaustedエラーが確認できました。
    public function download_csv_without_stream(Request $request) {
        $rows = [];
        array_push(
            $rows,
            implode(',', [
                'first_name',
                'last_name',
                'postcode',
                'address',
                'phone',
                'email',
                'birthday',
                'note',
            ])
        );
        // データ
        foreach (Customer::all() as $customer) {
            array_push(
                $rows,
                implode(',', [
                    $customer->first_name,
                    $customer->last_name,
                    $customer->postcode,
                    $customer->address,
                    $customer->phone,
                    $customer->email,
                    $customer->birthday,
                    $customer->note,
                ])
            );
        }
        return implode('\n', $rows);
    }
}
確かに、この仕組はメモリー的には効率的に動作することが検証できましたので、バックグラウンドジョブを使わなくてもCSVダウンロード機能を提供できるケースもそこそこありそうな気がしました。
Unitテスト
ResponseStreamのテストについては、以下の記事が参考になりそうですが、まだ試してはいません。
Testing Streamed Responses in Laravel
試したら、このブログでまとめるかもしれません。